8 top tips for organising a photoshoot
In preparation for the launch of this website, we needed a set of product photos; so we opted to engage the services of a local professional photographer to help us achieve the goal of gaining a set of the best quality images possible to use on the website. This article explains what we learnt after organising a photoshoot.
Before the photoshoot we arranged a meeting with the photographer to discuss what was involved. We Googled to find advice online about finding models and searched for lookbooks showing different model poses that might work for our products. But what we didn’t find was a relevant article about how companies organise photoshoots.
So, if you’re preparing to organise your first photoshoot using a professional photographer, we hope you’ll find this article useful, hopefully it will give you some photoshoot ideas.
1. Choosing models
Firstly, have a think about the type of model you would like to use: what gender and what age group would work best with your products and your brand? Do you want people with tattoos, or with a beard? Are there any particular abilities that would be useful for your photoshoot, such as a dancer or someone who is confident riding a bike. Write down your wishlist of ideal model attributes, then you’re ready to go shopping!
There are model agencies who can source models for you, but this can be pricey.
You could scour the social media channels, looking for local models. For example on Twitter, search for #models and add your location: town or county. Some beginner models might be keen to be photographed for free, or with travelling expenses covered, just to add some photos to their portfolio.
We were lucky with models, we decided we’d like one male and one female model to wear our male specific and female specific clothing lines. So we started by asking a few members of staff if they’d be willing to model, luckily our two male models said yes! We then asked everyone in the team if they knew a female model who would be available for our photoshoot. Someone said their niece was thinking about becoming a model and was available to help us out. In the end, we were lucky enough to have 4 models, two male and two female.
We prepared the models by asking them to bring white vest and pale shorts to wear under the healthcare clothing and to bring a hairbrush or comb with them on the day.
2. Location
The backdrop is very important to the overall quality of the finished images. Ideally for a set of images, to appear more professional the background should be either identical on each photo or follow a theme such as a grassy meadow on some photos and some other similar natural backdrop on others.
Look for a local location that will be available solely for your use on the day, so that you won’t have any interruptions causing delays to the photoshoot. Check that local transport to the location will be accessible and easy for everyone involved. If not, you will need to arrange taxis or pickups to collect everyone, so that they arrive on time.
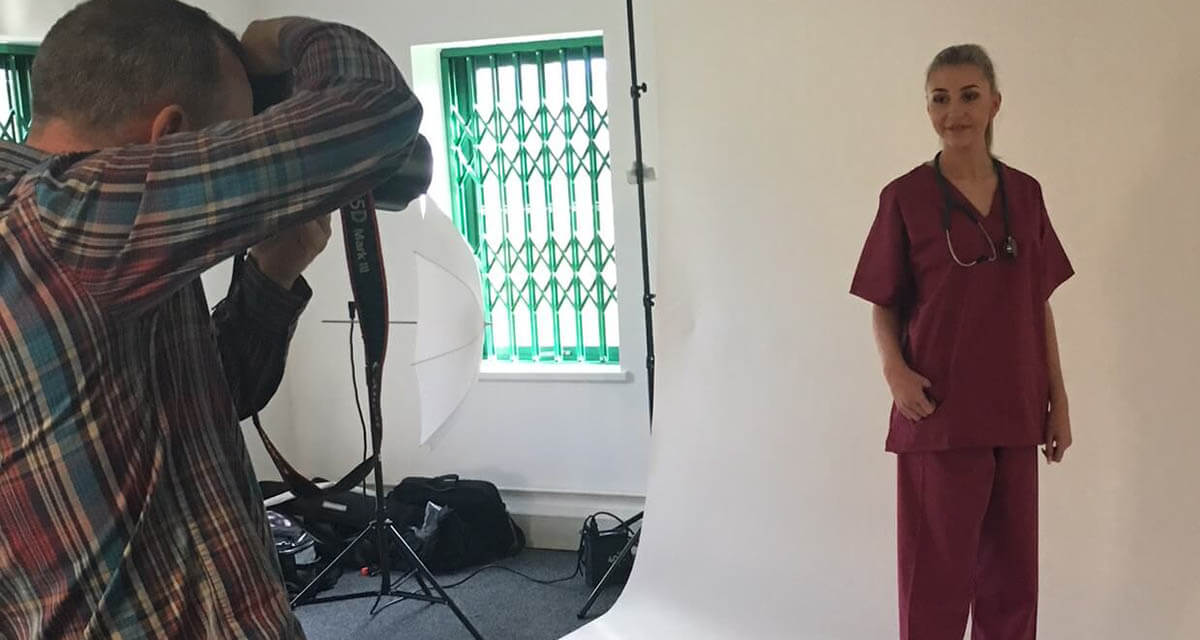
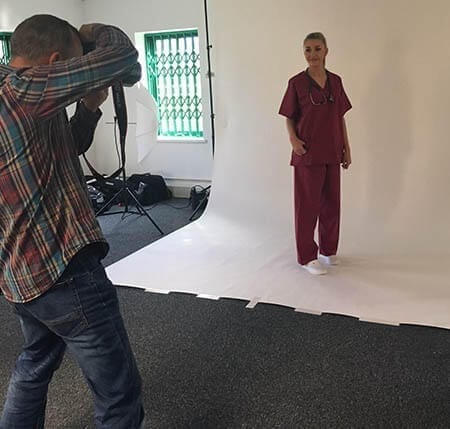
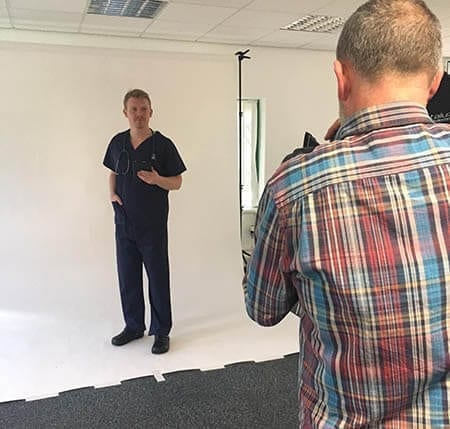
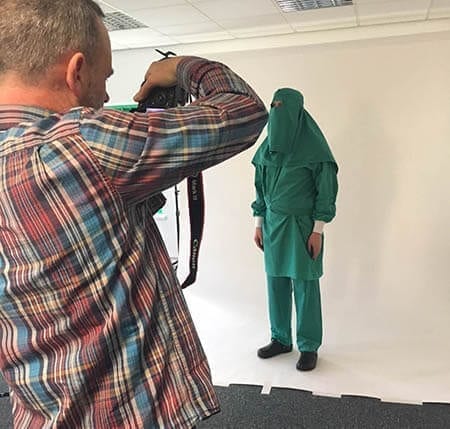
Again, we were lucky with the location. We had decided that we wanted a plain white background for the modelled photos, and a pale wood effect background for the folded products (as a lot of our folded products such as towels and bed sheets are white so they look much better on a coloured background rather than on a white background). We have a large empty room downstairs from our office, with plenty of windows for natural light. It wasn’t being used by anyone else so it was perfect for our photoshoot. There was space for the models to get changed separately and reasonably privately. There was also enough space for the ironing board and somewhere to hang up ironed outfits. We set aside a table and some chairs for a break-out relaxing area with some snacks and drinks.
The photographer brought his mobile photography studio equipment and set up the stage with a large plain white thick card backdrop. We also covered a large table with a roll of printed pale wood effect paper backdrop and used this to photograph the folded items.
3. Props are vital
You probably want the models to look natural and comfortable with the garments or items they’re modelling.
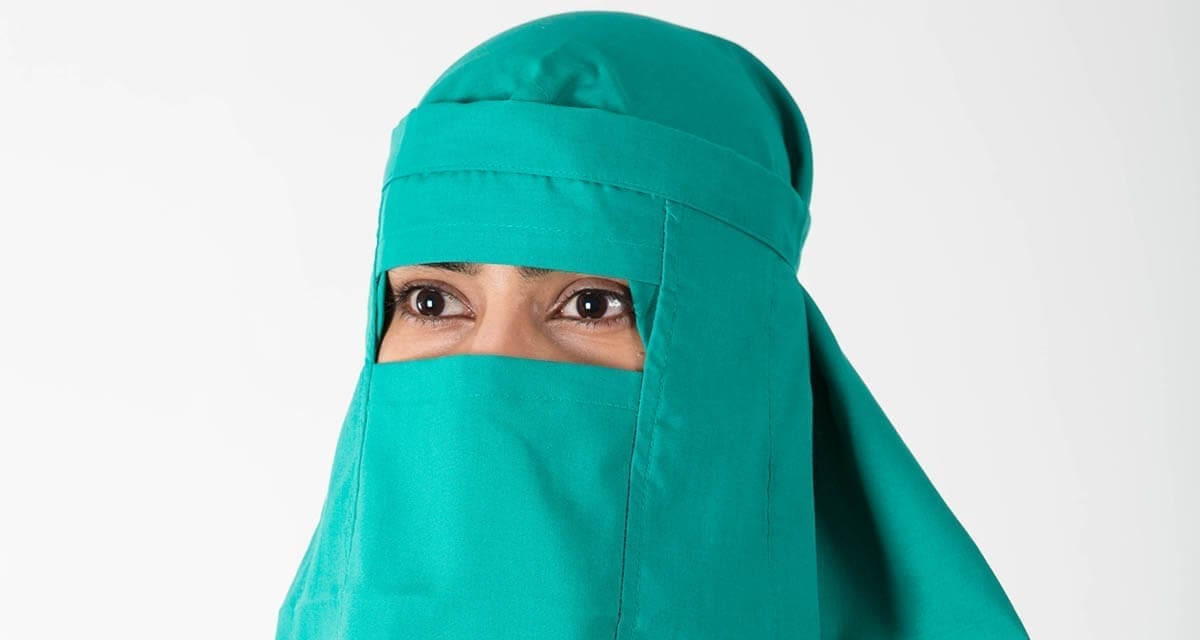
To do this we used some props to help the models feel more at ease, by giving them something to hold that completed the look. In our case, as our models were wearing healthcare staff uniforms and hospital patient clothing, we used a stethoscope, a clipboard, a pen and a tablet. We also had provided rubber clogs as worn by nurses and doctors. To complement the patient wear outfits, the models wore hospital slipper socks in various colours. We thought about giving the patients a teddy bear but thought that was one step too far!
4. Visualise it first
It’s helpful to imagine what the finished photos will look like, before you start. In our case, we knew that we needed photos to fit with our new ecommerce website design but we didn’t know at that stage whether they would be square, portrait or landscape. We took a decision to opt for a mixture of portrait and landscape to suit the product, with the understanding that we might need to re-cut them later.
5. Run sheet
If your photoshoot is anything more than 5 outfits, it’s highly recommended that you prepare a spreadsheet outlining the details of the day. Include a list of all the items being photographed in the order of photography. Group the photos involving the models carefully so that there’s as little waiting time as possible between photos – but allowing time for the models to change into the next outfit.
Note down what type of pose you would like the model to hold for each photo, and bear in mind that you may want each outfit to be photographed in multiple different poses. We found it helpful to print out some models posing in the right way from other websites. The models had a copy of the printed photos to help them get in the right positions quickly.
On the day, we had to be flexible and jump around the run sheet a little, as some outfits took longer to get into than others! But it was very helpful to be able to tick off an item after it had been modelled.
6. Ironing takes time!
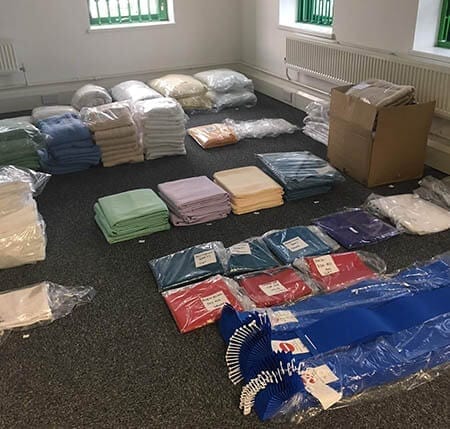
Don’t underestimate how long it will take to prepare your stock to be ready for photography! We photographed over 200 pieces in total, 95% of which had to be ironed beforehand. We had set aside 6 hours to do the ironing on the day before the photoshoot, but we were still rapidly ironing garments during the morning of the shoot.
7. Reminders
The last thing you want is for the models to forget about the photoshoot or turn up late and delay everything, so it’s always a good idea to send everyone a reminder text the day before, including the location and start time; plus a list of what to bring. To be able to do this, you will obviously need to have gathered everyone’s mobile numbers beforehand.
8. Hospitality on the day
You’re nearly there! Last but not least, keeping everyone hydrated and fed during the day will help things go smoothly. It’s a good idea to provide non-messy food, i.e. avoid biscuit crumbs or melting chocolate, so that your stock items don’t get damaged.
We wish you the best of luck with your photoshoot – hopefully it’ll all go well on the day!
Some snaps of our photoshoot in progress:
If you’re based in West Yorkshire and you’re preparing to organise a photoshoot, we highly recommend you get in touch with our photographer Bruce Fitzgerald. Professional, speedy service with a smile.
 Read more
What Will Hospitals Be Like In 50 Years?
Staying Happy And Healthy At Work – Top Tips