How to easily fold a fitted sheet
Knowing how to fold a fitted sheet is one of the greatest mysteries to most of us. While a fitted sheet is practical and comfortable for a bed, storing your extra ones can be tricky. We compile a step-by-step guide to getting the best fold for your fitted sheets.
1. Pick up the sheet lengthwise
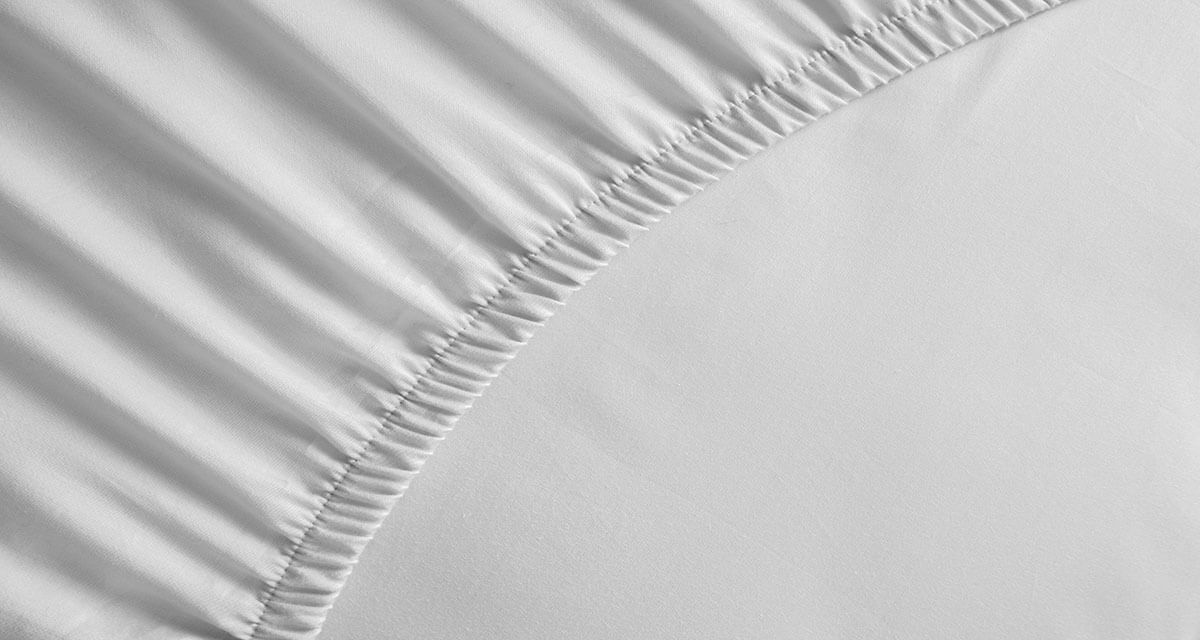
Place your hands into two adjacent corners, making sure to do this lengthwise. The two short sides should be hanging down, and the longest sides are stretched out by your hands. Once hanging, look at the seams. The side with the visible seam should be facing away from you.
2. Fold the corners
Look at the two corners you are holding, bring the two together in front of you. Next, turn the right corner inside out, so it wraps around the corner in your left hand. The elastic on each side should be line up neatly.
3. Add the front bottom corner
You will add this corner to the top 2 you just completed. Pinch the existing corners together with your left hand, reach down to the sheet with your right hand. Then, grab the corner that’s closest to your body. Bring this corner to the existing corners, and tuck it in. All 3 should be folded neatly together.
4. Bring up the final corner
You should only have one corner hanging down by now. The remaining 3 corners should be held up by your left hand. Fold the final corner in so it’s lined up with the others. Use your hand to smooth the fabric that is hanging down. You can use a pull and shake motion to smooth.
5. Create a rectangle
Find a flat surface for your sheet. After all four corners are neatly lined up, spread the sheet out on said flat surface. The four corners should be facing up in one corner, try to ensure they do not unfold as you lay the sheet down.
6. Fold the sides in
You want to create a rectangle shape. Arrange the sheet so that the seams of the corners create a new corner. After this, fold in the two sides on either side of said corner. The sheet should have neat and squared off edges. You should see an L shaped fold running along the edges.
7. Smooth it out
Once all the folds have been created, and you have a nice rectangular shape. You want to smooth out any creases with your hands. A hard surface works best for this.
8. Fold into vertical thirds
Fold the top third of the rectangle down so the corners are tucked inside the sheet. Keep smoothing the fabric as you go. Then, fold the bottom third up so the sheet makes a thin rectangle. When you look at the rectangle, all folds, elastic edges and corners should be hidden.
9. Fold into horizontal thirds
Once you have a thin rectangle, you want to make it more practical for small spaces. Fold one side of the sheet a third of the way in. Then, fold the last side over to finish, making a more square shape.
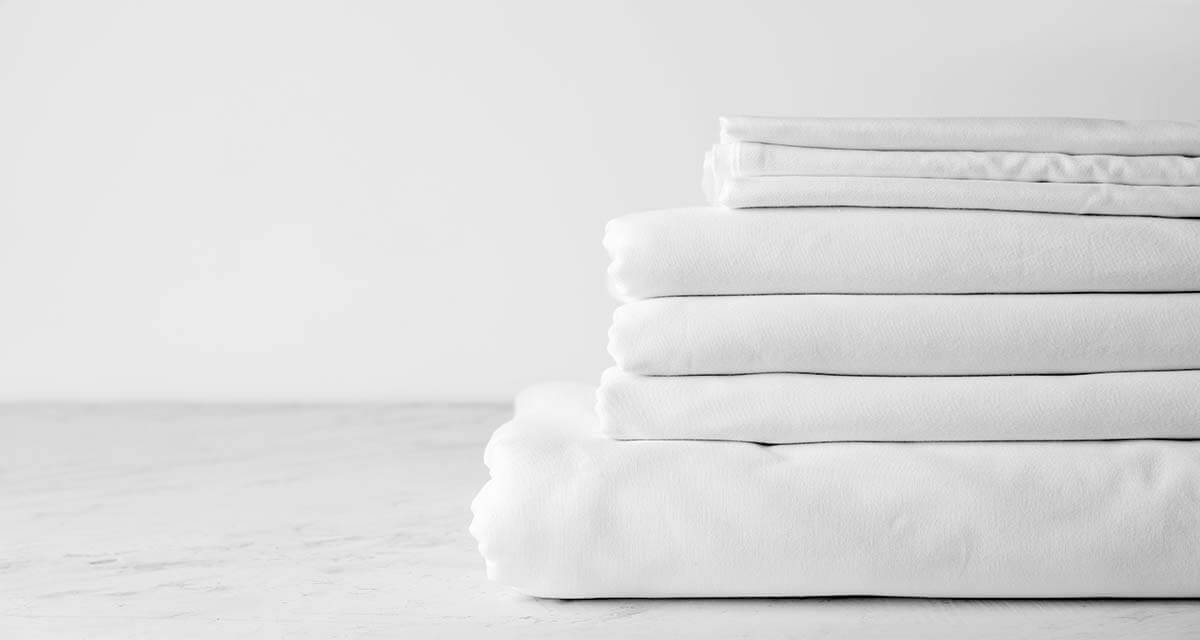
Now you’re all set! Now that you have a square shape you should be able to easily store this in drawers, linen closets or wherever you have the space. We recommend the Interfit fitted sheet as the first sheet you use your new folding techniques on.
 Read more from us…
Understanding NHS waiting times
Sources
- https://www.wikihow.life/Fold-a-Fitted-Sheet
- https://www.goodhousekeeping.com/home/organizing/